Creating a new Workspace
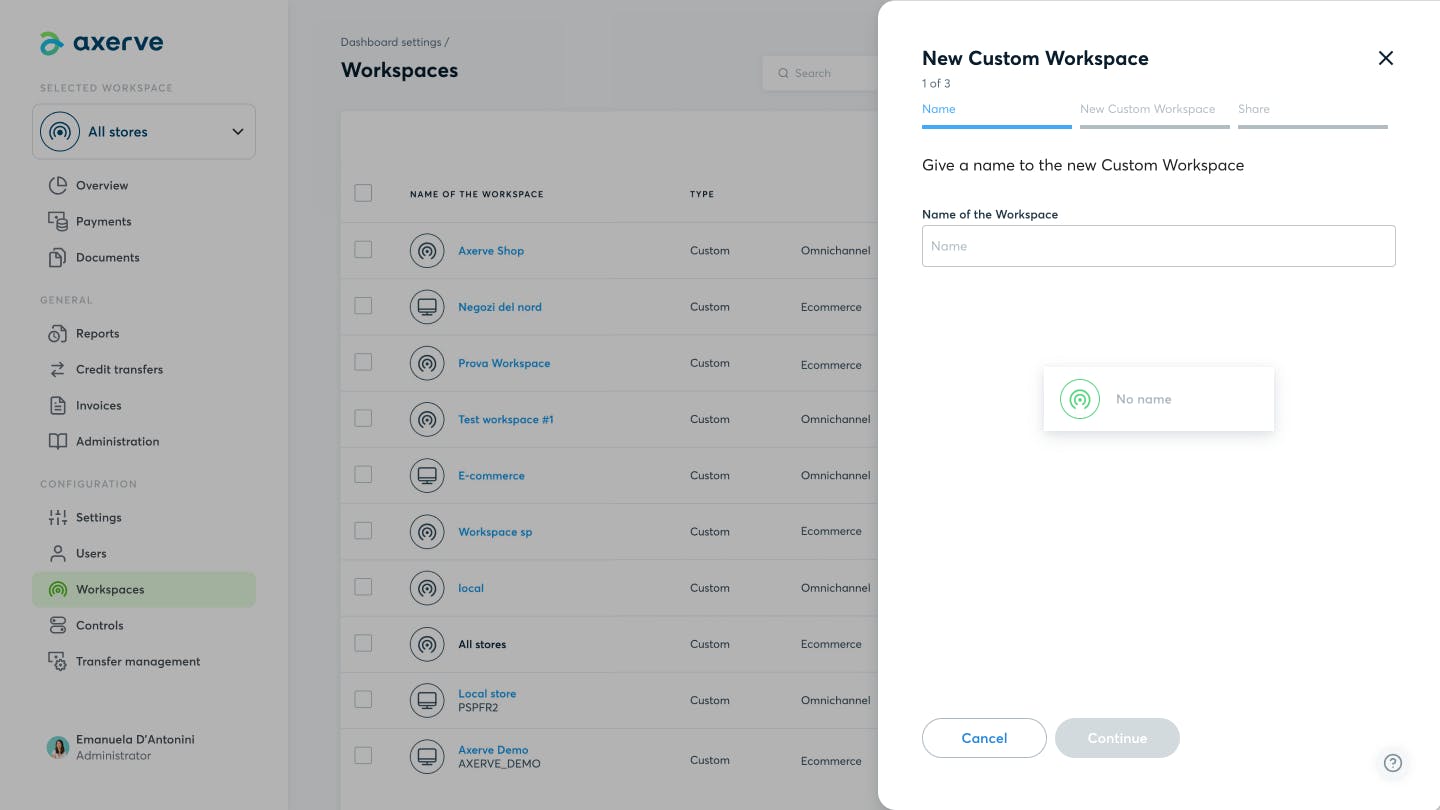
In addition to the Workspaces created centrally by Fabrick, it is possible to create custom workspaces. Once in the Workspace list, click on the New Custom Workspace button, at the top right, and follow the next 3 steps:
- Write the name you want to assign to the Workspace
- Add the Shops and Groups to be associated to the workspace and click on the + symbol
- Specify users and their management permissions
By clicking on Workspace, the custom workspace will be added to the Workspaces list.
Adding Shops to a custom Workspace
It is possible to add custom Workspaces, individual Shops and Groups to a workspace subsequently to its creation.
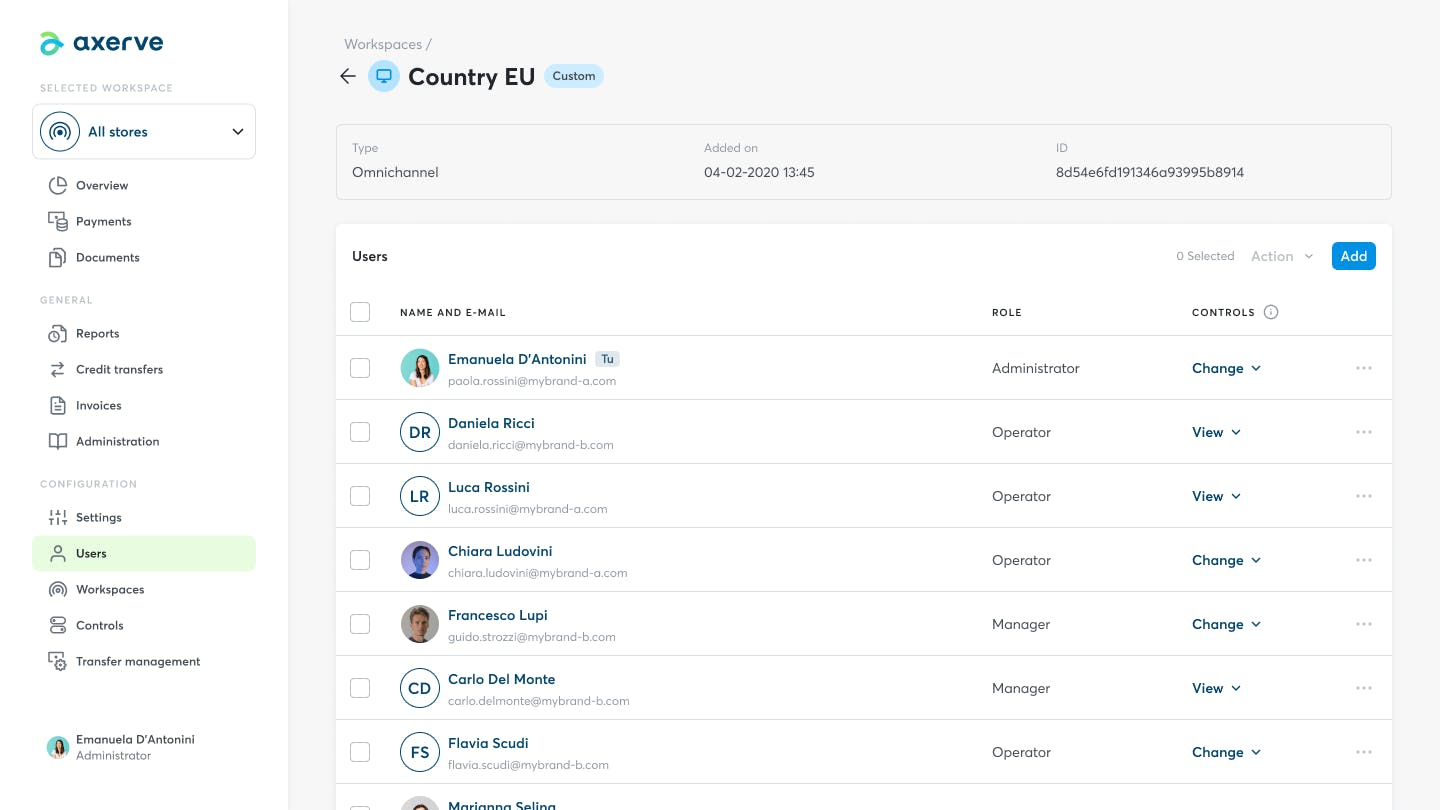
Only the user who created the workspace is allowed to add new Shops to it, and they can do this from the Workspaces section:
- Enter the Workspace’s detail page
- Scroll down to the Workspaces area, where the Shops currently within the workspace are listed
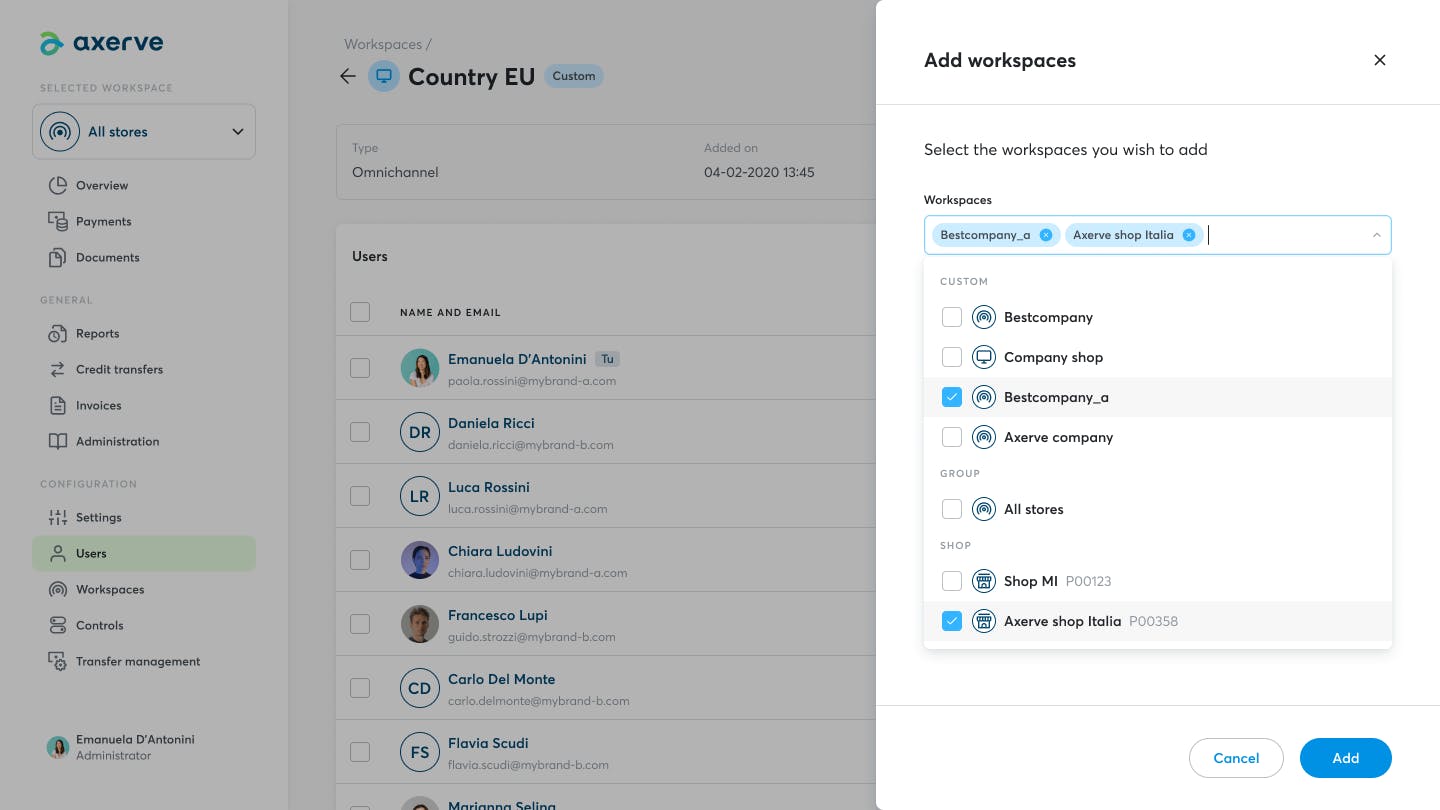
- Click on “Add”
- In the pop-up, open the drop-down menu and select one or more custom Workspaces, Groups or individual Shops to be added to the workspace
- Once the selection is complete, confirm by clicking on “Add”
- A notification will confirm the correct addition of selected Workspaces and Shops to the workspace
Assigning users to the Workspace
Assigning users to the Workspace is optional. If you skip this step, only the user who created the Workspace will be able to manage it.